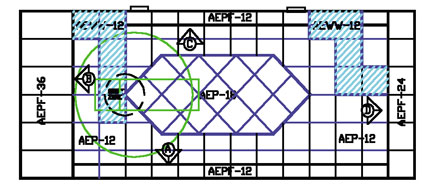
Figure 3. Chamber Absorber Layout
back to story